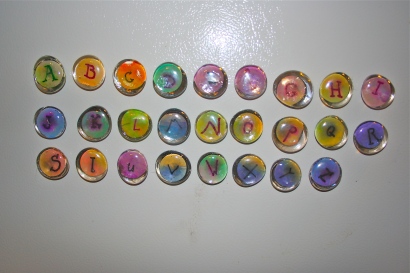
If you are like me, you have drawers (and random bags and totes) full of your children’s art work. We have more in common if you also find it hard to part with these masterpieces. Here is one project that will help to use up that stash and it is guilt free (aka not using them to light the wood stove – not that I have EVER done that).
I was inspired to help Scarlett makes these alphabet magnets for Ivy’s solstice gift after reading a number of great blog posts. First Sarah Jane Studios gave inspiration for reusing children’s art (plans to make this for the family christmas gift exchange is already in the works), then at Not Martha I found a great how-to-make marble magnets tutorial and last but not least at Tiny Twist Creative the most perfect alphabet magnets! This is exactly what I love about the blogosphere – tons of great ideas!
What you’ll need:
- kids art (we used abstract watercolours just like at Tiny Twist Creative)
- 1 inch magnets (we found ours at the local Home Hardware)
- Clear garden rocks with a flat bottom (sourced at Michael’s but I have seen some at dollarstores…just not the big ones)
- silicon glue (we had left over from making homemade snow globes last year)
- a marker
- 1 inch circle punch (again, Michael’s)
- scissors
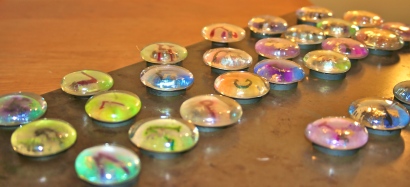
- a cookie sheet for placing them on to dry…trust me if you just put them on the table the will all be drawn together and it will mess your not yet dry magnets up!)
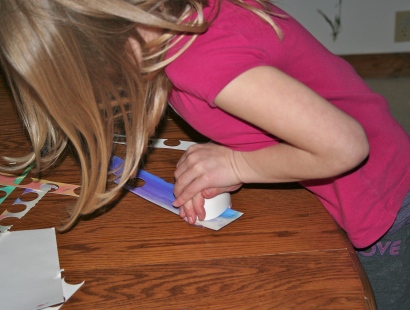
Gather you art piece, circle punch and almost 6-year-old helper. Set him or her to work punching out circles.
If you are less than 6 years old you may have to use your entire body weight to use the punch. If you are older than six you may not have to do this but you still could if you felt like creating some drama as you work.
Once you have punched out one row use your scissors to cut the punched out circles off so you can start again. Keep going until you have 26 circles.
Next, take your marker and have your helper write the letters on the alphabet on the circles. It helps if you make them a bit “fancy” for aesthetic appeal.
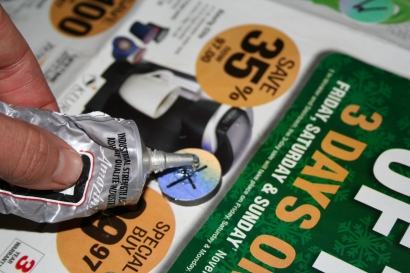
Now it is time to glue the circles onto the magnets and then the garden rocks onto the circles. First lay down something to protect your work surface.
Put a small dab of the silicon glue on the magnet and place the circle on top. Press down. Next put a small dab onto of the paper circle and press the garden rock into place. Put it on the cookie sheet to dry. If you notice the glass rock slip a bit, just move it back into place.
Enjoy and remember to let me know if you make these!
Note: the 1-inch magnets can get kind of expensive so you can make these using smaller ones…the 1-inch magnets will hold up anything though so you might consider the splurge.


oh, i love the garden rocks on yours. Keeps it protected. 🙂
LOVE these, K!
Thanks Christy!
Thanks for the inspiration Erin!
woMAN! You are soooo crafty, and funny too! (“Note: this photo does not contain 26 circles”) Hahahahahaha! And I too, am as not guilty as you are of lighting the woodstove with leftover children’s art. OR leftover children.